 This past weekend was the 2012 Grand National Roadster Show held in Pomona, Ca. It was a beautiful weekend in Southern California and the warm weather brought out tons of people to this historic event.
 A very nice 1957 Chevy built by our friends at D&P Chevy in Orange County.
Plenty of classic cars, lowriders, hot rods and of course, roadsters, filled the halls at the Pomona Fairplex. California Car Cover was an on site as an exhibitor at the event. I spent most of the day Saturday enjoying the show and talking to many of our customers and vendors that were in attendance. Here are some photo highlights.
 There was an entire hall celebrating the '32 Ford. Above is a group of custom pedal cars on display and bottom is a photo of the full size models there.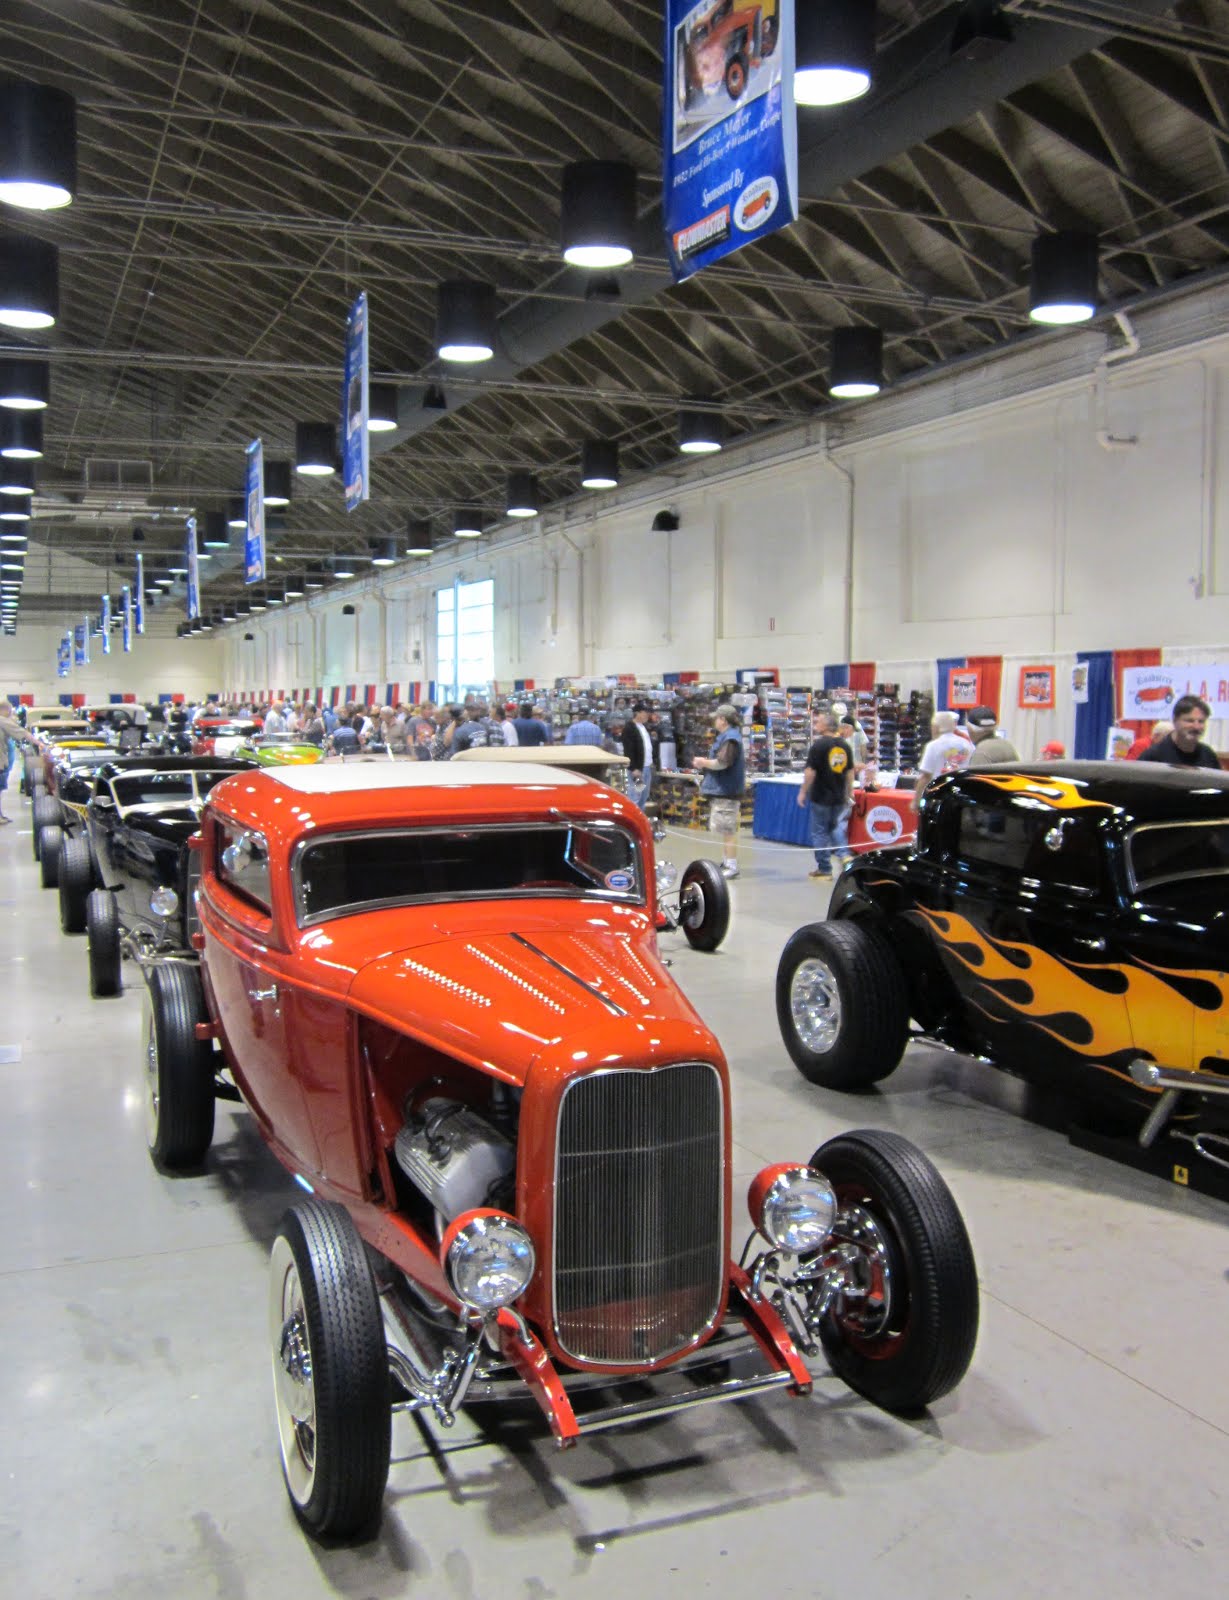
 The fairplex has plenty of space to park classic cars and just above everywhere you looked there was another car. From street rods and customs to traditional rods and muscle cars, it was there.
 The Suede Palace is home to traditional hot rods and customs.

 Ford Shoebox
 Looking to start your roadster project?
 In addition to all the custom cars on display, there were plenty of the two-wheeled variety on display all competing for the big trophy.
 Classic Triumph.
 Beautiful paint and detail work was on display in the lowrider section of the show. These cars sure do look good under the lights.
 Candy paint and wide white wall tires were popular at the show.

 Custom Car Hauler.
 The roadsters in competition for the award of America's Most Beautiful Roadster were all on display in the main hall. This hall featured large displays with eye catching automobiles.


 The main hall also featured the booths of plenty of the premiere classic car builders. Here is the booth of our friend and catalog cover car builder Troy Ladd and Hollywood Hot Rods.
 Old time pinstripers.
 Another past catalog cover car builder, Brizio Street Rods.


 The trophy display.
 Pure Vision from Simi Valley, Ca was displaying a few cars in the works.
 This gold pickup has been seen at a few shows this year. It was built by our friends down at Hot Rods and Custom Stuff in Escondido, Ca.

 Custom Corvette.
 Custom Harley.
 Ford Thunderbird. This T-Bird was built by Rick Tucker and the crew at Tucker's Performance in Las Vegas, NV. You might recognize that name from a shop tour we did of his facility a few weeks ago.
Want to see more? Visit our Flickr page to see all the photo highlights from the 2012 show. Visit the California Car Cover Events page to see where we will be exhibiting next.
Check back with our blog often this month. There will be plenty of cool event coverage here all February.




 Posts
Posts

