 Tired of extreme temperature changes in your garage? Do you have too much heat in the summer and cold in the winter? This garage door insulation kit from California Car Cover will help regulate heat and cold air given off from your metal garage door.
 In fact, I installed this very kit on my own garage door. My home faces the setting sun, so my garage can get pretty warm in the summer months. Also, temperatures during the early winter mornings get cool, so the insulation should regulate any hot or cold air from the outside.
The kit includes everything you need for installation: insulation sheets (enough for an 8' X 18' door), double sided tape, alcohol wipes, cutting knife and measuring tape. First step is to clean all surfaces to be covered in double sided tape with alcohol wipes. This helps provide the cleanest possible bound.
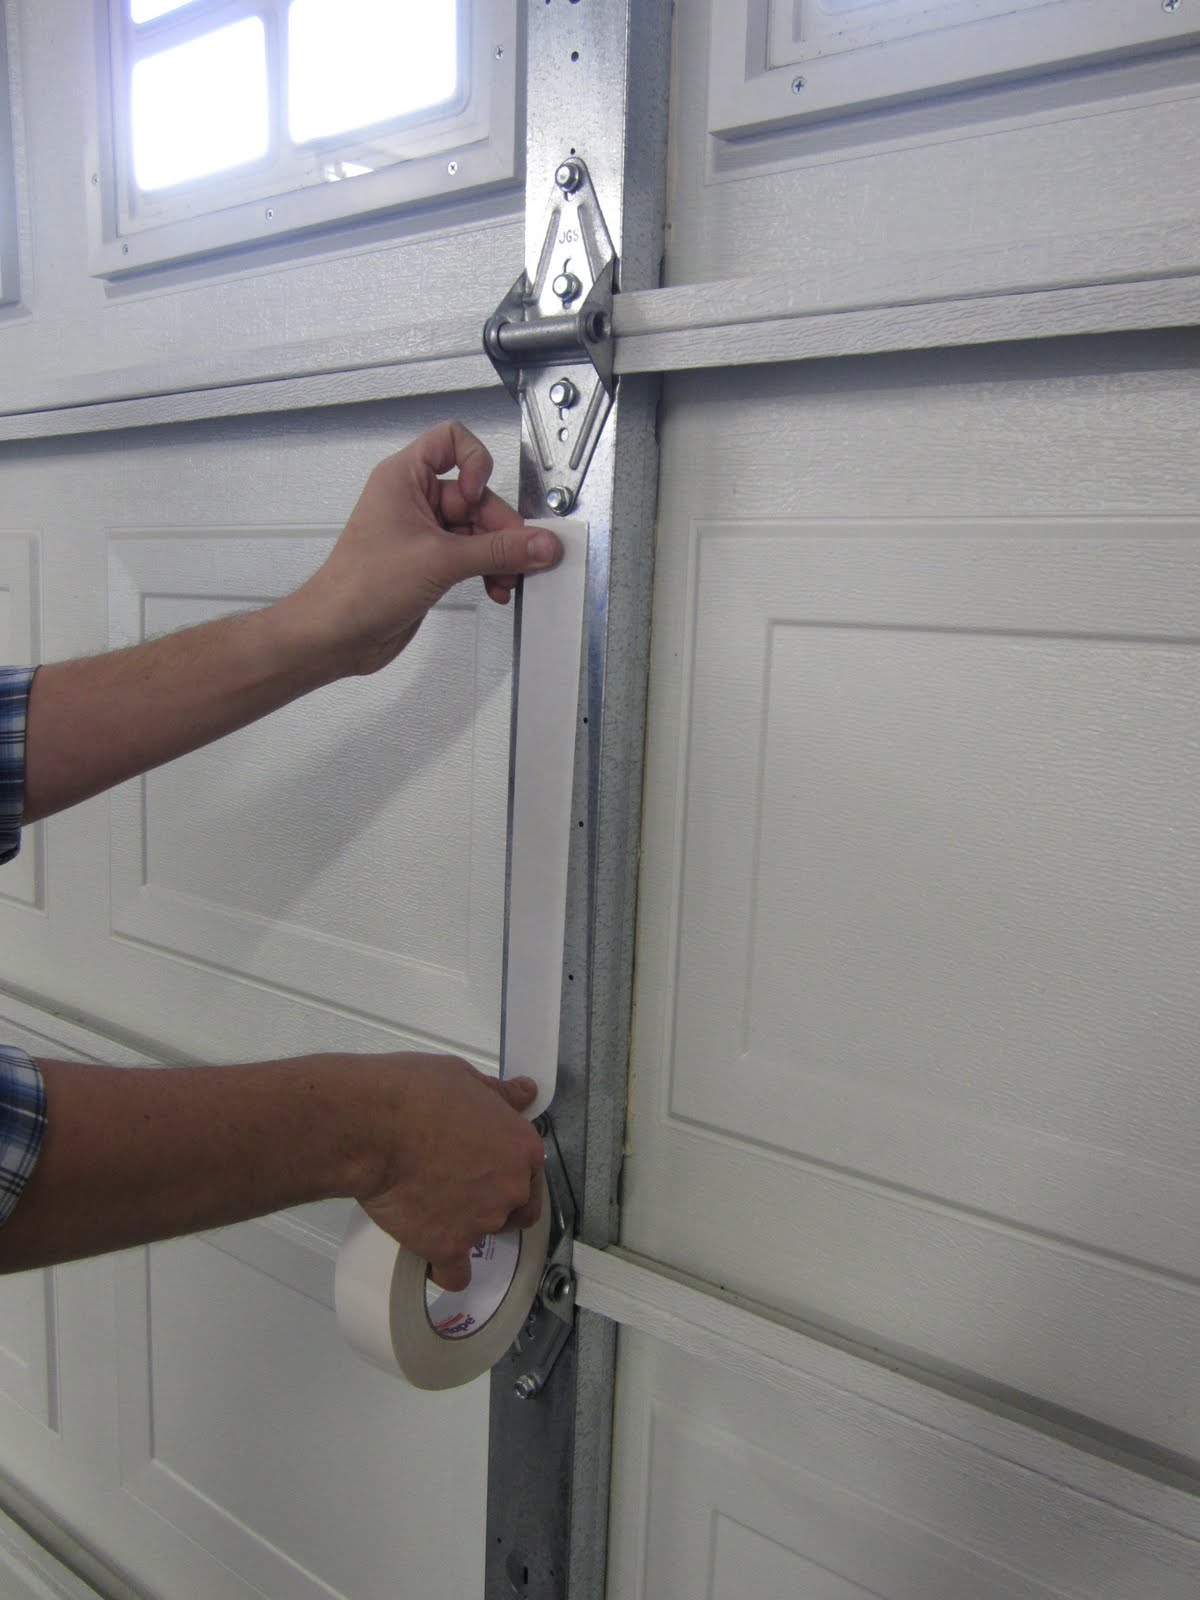 Next adhere the tape to all the recently cleaned flat surfaces. I tried to cover as many of the joints and vertical supports as possible.
 Next, line up the garage door insulation so you can unroll it straight across the garage door panel. Do you need to cut off any excess insulation? Use a measuring tape to see how much insulation will need to be trimmed from the bottom.
 Before installing the insulation, peel back the backing of the double sided tape. I opted to peel one row at a time to make the application of the insulation easier.
 Next, Put the corner of the first section in place and press firmly where tape was applied. Tip: Check the temp. The tape will adhere best at a temperature above 65 degrees so make sure to install the kit when it isn't too cold for the best bond.
 Unroll the piece of insulation across the garage door and firmly press against tape. Use the cutting knife to notch around any hinges and excess at the end.
 After securely in place I decided to trim the excess. I figured this was the best way to get an even cut. I was able to use the joint between the garage door panels as a guide for the blade. This made sure I ended up with a nice even cut.
 Now that the first panel is complete, repeat the taping and cutting steps for however many panels you have on the garage door to cover. I chose to cover 3 of the 4 panels since I have windows on the top section.
 Another handy tip: To save some tip and your back, raise the garage door part way on the bottom section. This way you can trim the bottom section at a chest high level for easier and more accurate cutting.
 That's it. The insulation is installed and will hopefully make my garage more pleasant year round. It took just over an hour to clean, tape and install the kit on my double garage door.
Want to see the video? Check out our You Tube channel for a minute video on the installation process.
For more information on this product, please visit our website.


Insulators are crucial, as these keep whatever you keep in your garage out of danger. Installing insulators on your garage is a simple task, but you have to be caution when measuring and cutting the blanket so it will fit the edges of your garage. Another tip: when buying an insulator, choose a product that has a high R-value or insulator property. It’s safe to say that that insulation kit is a great deal! =)
ReplyDelete- Filippa Sartini
Thank you so much Love your blog.. Garage Door Opener Replacement Chandler
ReplyDelete